

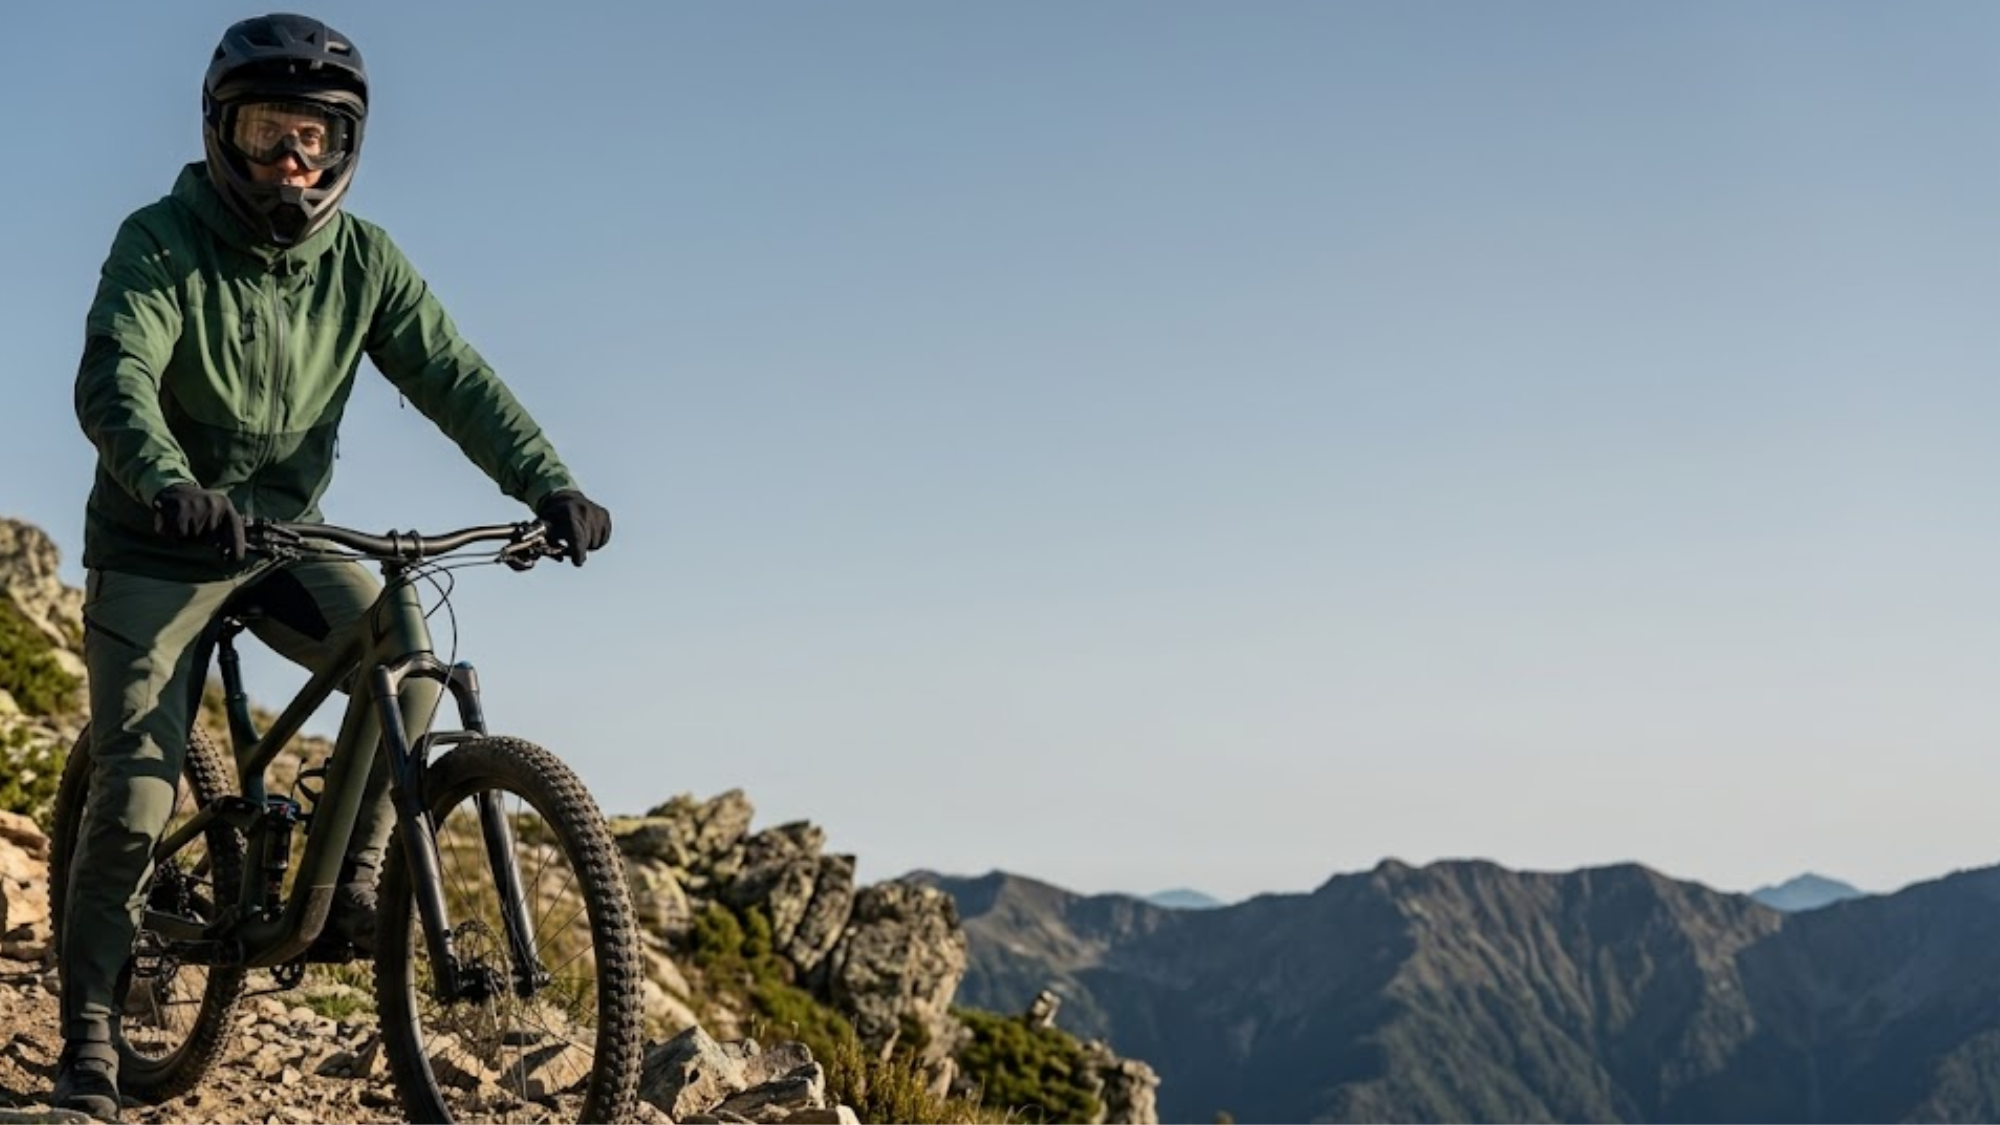
I still remember the exact spot on my local trail where I stopped riding scared and started riding on purpose. It wasn’t a fancy bike upgrade that did it — it was finally understanding what my body, my brakes, and my eyes were supposed to be doing at the same time. That’s the gap this guide is built to close.
Mountain biking rewards technique more than raw fitness. Two riders with the same legs and the same bike can have wildly different days on the same trail, and the difference almost always comes down to the fundamentals — body position, braking, gearing, vision, and how you handle the terrain that doesn’t cooperate with you.
This guide walks through every one of those fundamentals at a level that’ll get you riding with real confidence. Where a topic goes deeper than a single overview can cover, I’ll point you to the full breakdown so you’re never stuck wondering what comes next.
Mountain Bike Body Position and Bike Setup Basics
Everything on this list starts here, because bad body position quietly sabotages every other skill before you even get to use it.
The position I come back to on every trail — technical, flowy, doesn’t matter — is what most riders call the “ready” or “attack” position. Pedals level at three and nine o’clock, knees and elbows bent like shock absorbers, hips hinged back so your chest drops slightly over the bars, eyes up and scanning ahead instead of glued to your front wheel. It sounds like a lot to hold in your head at once, but it becomes automatic fast once you’ve drilled it. I go into the full breakdown — hand position, grip pressure, where your weight actually needs to sit — in a dedicated guide on nailing basic body position, and it’s worth the read before you touch anything else on this list.
Position isn’t just about you, though. A bike that doesn’t fit how you actually ride will fight you no matter how good your form is. Saddle height, cockpit reach, and suspension sag all need to match your body and your terrain, not just factory defaults. REI’s guide to setting up a new mountain bike is a solid starting point for the basics, and I’ve got a full walkthrough on getting your own setup dialed for performance and control.
Mountain Bike Braking Technique
Brakes scare new riders more than almost anything else on the bike, mostly because the instinct is to grab a fistful of lever and hope for the best. That’s exactly the habit to break.
Your front brake does the majority of the work — somewhere around 70-80% of your stopping power — while your rear brake handles fine speed control, especially on loose terrain. The skill isn’t choosing one over the other; it’s learning to feather both together, smoothly, the way you’d squeeze a sponge instead of crushing it. Brake before a corner or obstacle, not in the middle of it, and let your weight shift back and low as you slow down so you’re not getting pitched forward. REI’s notes on disc brake care are worth a look too, since poorly maintained brakes will undercut even good technique.
That covers the fundamentals. Once braking stops feeling like an emergency reaction and starts feeling like a dial you’re turning, I’ve got a full article on effective braking, and a follow-up specifically on feathering and modulation for the riders who want to get genuinely precise with it.
Mountain Bike Gearing and Pedaling Efficiency
Gears exist to keep your legs working at a sustainable rhythm no matter what the trail throws at you, and most new riders under-shift far more than they over-shift.
Shift before you need to, not once you’re already grinding up a climb. Easier gears — your “granny gears” — are for climbing and technical sections where you need to spin, not strain. Harder gears are for flats and descents where you want speed. REI’s rundown on how bike gears work is a good primer on the mechanics if you’re still getting a feel for which shifter does what.
Pedaling technique matters as much as gear choice. Push down, scrape back, lift, and push forward — smooth circles rather than stomping — keep your power consistent and your rear wheel gripping instead of spinning out. I’ve written a full guide on seamless gear shifting and a separate one on boosting pedaling efficiency if you want to get more precise about cadence and power delivery on longer rides.
Vision and Line Choice for Mountain Bikers
Where you look is where you go — full stop. It’s the simplest skill on this whole list and also the one riders neglect the longest.
New riders tend to stare directly at the obstacle they’re trying to avoid, which almost guarantees they’ll ride straight into it. Instead, scan 10-20 feet ahead, pick your line early, and look toward your “exit” — where you want to be once you’ve cleared whatever’s in front of you — rather than the obstacle itself. Your bike genuinely follows your eyes more than your hands.
This skill underpins nearly everything else in this guide, which is why I’ve got two dedicated pieces on it: one on vision and focus for better line choice generally, and a deeper one specifically on reading the trail and choosing lines through technical sections.
Mountain Bike Cornering Technique
Corners are where flow either clicks into place or falls apart, and they reward everything you’ve already built — vision, braking, and body position — all at once.
The basics: look through the turn toward the exit, do your braking before you enter rather than mid-corner, and lean the bike more than your body on gentler turns while keeping your outside pedal down for grip. If there’s a berm, use it — pushing into a banked turn generates speed instead of costing you any. REI’s cornering techniques guide covers a lot of this same ground with some useful visuals if you’re a visual learner.
Cornering has enough range that I’ve split it into several focused guides: advanced cornering technique overall, uphill cornering for maintaining momentum on climbing turns, downhill cornering for carrying speed safely, and a dedicated piece on switchbacks, which are their own particular challenge on tight-gradient trails.
Mountain Bike Climbing Technique
Climbs get a bad reputation, but they’re almost always more about technique than raw power. I’ve watched riders half my fitness level clean climbs I was struggling on, purely because their weight distribution and gear timing were dialed.
Shift down early so you’re spinning rather than mashing. Lean forward just enough to keep your front wheel planted without going so far forward that your rear tire loses traction — it’s a narrower window than it sounds like. Stay seated for long, steady grinds to conserve energy, and only stand for short punchy sections. REI’s guide on climbing and descending technique backs up a lot of this if you want a second reference point.
For a full step-by-step on tackling steep, loose, or technical climbs, my guide on conquering any climb goes deep into gear selection, traction management, and pacing.
Mountain Bike Descending Technique
This is the part most people picture when they think “mountain biking” — and it’s genuinely one of the best feelings in the sport once you trust your technique.
Drop into the attack position: standing, pedals level, knees and elbows bent, weight back and low, eyes far down the trail. If your bike has a dropper post, use it — getting the saddle out of the way lets you move freely and keeps your center of gravity where it needs to be. Stay loose rather than stiff, and feather your brakes rather than grabbing them, especially the front.
Descending confidently is its own skill set with a lot of nuance around speed management and body separation from the bike, which is exactly what my full guide on confident descending covers.
Mountain Bike Obstacles and Trail Moves
This is the biggest category in mountain biking skill-building, because trails are rarely smooth and the moves that get you over what’s in front of you range from dead simple to genuinely advanced.
For small stuff — roots, small rocks — a basic front wheel lift is usually enough: push down on the bars, unweight and pull up slightly to let the front wheel float over, then shift forward so the rear rolls through. That single move opens up a lot of trail that used to feel intimidating, and I cover it in full in my guide on front wheel lifts.
From there, the skill tree branches out fast. The bunny hop is the next logical step up for clearing bigger obstacles cleanly, and I’ve got a complete breakdown of how to bunny hop on a mountain bike. Manuals and wheelies come next for riders working on balance and rear-wheel control through obstacles, covered in my guide on manuals and wheelies, with a more focused piece on rear wheel lifts and pivot hops for advanced control.
A few more moves round out this category once you’re comfortable with the basics: pumping for speed, which is about generating momentum from trail terrain rather than pedaling for it; the track stand, a balance fundamental that pays off constantly on technical trails; mastering drops, for when the trail actually drops away beneath you; and body English and bike separation, which is the more advanced skill of moving your body independently of the bike for real control at speed.
Riding Technical Terrain: Roots and Rock Gardens
Roots and rocks aren’t obstacles to avoid so much as terrain to learn how to read.
Stay loose and let your body absorb impact instead of locking up your arms. Keep looking ahead to pick the smoothest realistic line — sometimes that’s over a rock, sometimes it’s the gap between two of them — and maintain a bit of momentum rather than coming to a near-stop, since speed often helps you roll through rather than get hung up.
I’ve got two dedicated guides here: riding roots for smoothly navigating root-heavy sections, and conquering rock gardens for the trickier, slower technical zones where line choice matters more than speed.
Riding Mud, Sand, and Wet Trail Conditions
Weather and terrain conditions change technique even when the trail itself hasn’t.
Mud wants to grab your tires, so ease up on the brakes, keep your weight centered, and hunt for lines with more traction instead of fighting the softest ground. Sand rewards the opposite instinct — stay loose, weight back slightly, keep the front wheel light, and let the bike float instead of trying to force a sharp turn. Wet trails multiply the stakes on everything: reduce speed, go gentle on the brakes, and pick your lines with extra care since traction disappears fast.
Each of these gets its own full treatment: mud traction and control, riding sand on loose terrain, and grip and safety for wet conditions.
Trail Confidence, Safety, and Practice
Every technique in this guide takes practice, and practice means you’re going to fall sometimes. That’s normal, not a sign you’re doing something wrong.
Start small — an empty grassy lot or a mellow, smooth trail is the right place to drill body position and braking before you take it to technical terrain. “Sessioning,” or riding the same short section repeatedly, is genuinely how experienced riders keep improving, not just beginners. My guide on pre-riding and sessioning walks through how to structure that kind of practice for real progression, and if fear is the bigger obstacle right now, it covers building confidence on the trail.
Safety deserves its own mention too. Knowing how to bail off your bike cleanly rather than crashing into it is a real, teachable skill — not something you want to be figuring out for the first time mid-fall. I cover that in emergency dismounts. And beyond your own technique, following IMBA’s trail etiquette guidance — yielding appropriately, controlling your speed around other trail users, leaving no trace — is part of riding well, not just riding fast. Mountain biking has a longer history than most riders realize, and much of that etiquette culture grew directly out of the trail-access fights earlier generations of riders had to win.
Ride the Learning Curve
None of this clicks all at once, and it shouldn’t. I still catch myself thinking about body position on climbs I’ve ridden a hundred times. The riders who progress fastest aren’t the ones with the best bikes — they’re the ones willing to session an awkward corner five times in a row until it stops being awkward.
Take what’s here, find a trail that’s slightly outside your comfort zone, and start putting it into practice one skill at a time. The rest of this guide will be waiting whenever you’re ready to go deeper on any piece of it.