

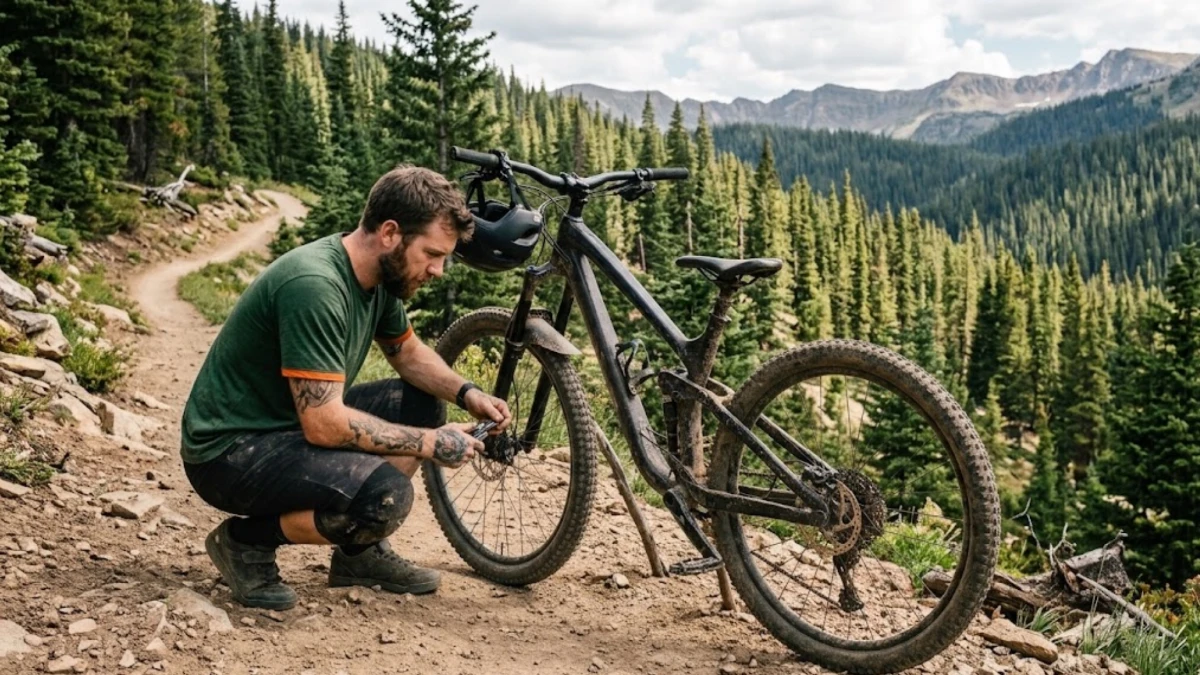
Your bike doesn’t complain until it’s too late. A dry chain, a soft brake lever, a fork that’s lost its plushness — none of it stops you from riding until the day it does, usually somewhere inconvenient. I’ve learned most of what I know about maintenance the hard way, out on a trail with a problem I should have caught in my garage. This guide is the version of that knowledge I wish I’d had earlier: what to check before you ride, what to clean after, and which components need real attention as the miles add up.
You won’t come away a certified mechanic. You’ll come away knowing your bike well enough to catch trouble early, keep it running the way it’s supposed to, and know when a job is a five-minute fix versus one worth taking to a shop.
The Pre-Ride Check
I don’t roll out of the driveway without a quick once-over, and it’s saved me more than a few rides. It takes two minutes if you make it a habit.
Start with the tires — squeeze the sidewalls and check them against the recommended pressure range printed there. Low pressure costs you grip and invites flats; too high and you lose traction on anything technical. If you’re running tubeless, this is also the time to check whether this sealant needs a top-up.
Next, the brakes. Squeeze both levers. Firm and responsive is what you want — a spongy feel usually means air in the line or pads worn down further than you think. Give the pads a quick visual check while you’re at it.
Then the chain. Backpedal a few rotations and look and listen. Dry and squeaky means it’s overdue for lube; a coat of oil here takes thirty seconds and saves you a lot down the line.
I run through this same sequence every time, and it’s become second nature enough that I’ve started calling it my pre-ride ritual — a short checklist that catches problems before the trail does.
Post-Ride Cleaning
Mud and grit are corrosive, and they work fast on drivetrain parts and bearings. A rinse and a proper clean after a wet or muddy ride isn’t about keeping the bike looking good — it’s about not paying for premature wear later.
You don’t need much: a gentle hose setting (never a pressure washer aimed at your bearings), a bike-specific degreaser, and a couple of brushes for the cassette and derailleur. After a genuinely filthy ride, I go deeper — there’s a proper process for getting a bike clean after a muddy outing that’s worth knowing in full. On drier days, a lighter wipe-down and inspection routine after each ride is usually enough to stay ahead of wear.
Drivetrain Care
This is where most of your maintenance time will go, because it’s where most of the wear happens.
Chains stretch with use, and a stretched chain quietly destroys your cassette and chainrings if you let it ride too long. A cheap chain checker tool tells you exactly when it’s time — and knowing when to replace a worn chain is one of the more cost-effective habits you can build, since a $20 chain swap beats a $100 cassette replacement every time.
The cassette itself — that stack of cogs on your rear wheel — takes the brunt of a neglected chain. If gears are skipping even after you’ve adjusted the derailleur, it’s often the cassette telling you it’s done. Replacing a worn cassette isn’t a complicated job once you’ve seen it done.
Shifting problems get their own kind of frustration, and derailleurs are usually the cause. A rear derailleur that’s slightly out of tune shows up as hesitant or noisy shifts, and dialing it back in is one of the more satisfying skills to pick up. There’s a proper process for adjusting a rear derailleur, and a separate one for getting the front derailleur shifting cleanly. When shifting still isn’t right after all that, it’s worth working through a troubleshooting checklist before assuming something’s broken.
Cables and housing wear out quietly — they stretch and gunk up over years of riding, and replacing gear and dropper cables and housing is one of those jobs that makes an older bike feel new again.
And down at the bottom bracket, where your cranks spin, a creak under pedaling load is usually the first sign something needs attention. Water and grit get in there more than people expect, and there’s a full bottom bracket maintenance process worth knowing before that creak turns into a bigger issue.
Brake Maintenance
Most modern mountain bikes run hydraulic disc brakes — powerful, low-maintenance by design, but not maintenance-free. Pads wear, fluid ages, and lines pick up air over time.
Replacing disc brake pads is a job you can absolutely do at home once you’ve watched it done once. And that spongy lever feeling I mentioned earlier — that’s usually air in the system, fixed by bleeding the brakes, which sounds more intimidating than it is with the right kit. If your brakes have started squealing on you, that’s rarely random — there are a handful of common causes and fixes worth running through before you assume you need new pads.
Suspension Care
Your fork and shock are doing more work than any other part of the bike on rough terrain, and they’re also the part riders neglect most.
Sag — how much your suspension compresses under your body weight at rest — is the single most important setting most riders skip. Get it wrong, and nothing else about your suspension setup matters much. There’s a full process for setting suspension sag properly that’s worth doing before you touch anything else.
Beyond sag, suspension needs periodic service. Seals dry out, oil breaks down, performance fades gradually enough that you might not notice until it’s serviced and suddenly feels brand new again. A front fork lower-leg service and a rear shock air-can service are both jobs riders take on at home once they’ve got the basics down. And if your lockout ever stops behaving — stuck on, stuck off, or just unreliable — there’s a clear troubleshooting path before you assume the worst.
Wheels and Tires
Wheels take a beating on every ride, and a little attention here pays off in ride quality and reliability.
Tubeless setups are worth the switch for most riders — lower pressures, better grip, fewer pinch flats — and there’s a full step-by-step process for tubeless tire setup if you haven’t made the jump yet. Punctures still happen, but tubeless punctures are usually a trailside fix rather than a ride-ender if you know the repair steps.
A hard hit can knock a wheel slightly out of true, which shows up as brake rub or a subtle wobble. Basic wheel truing is a home-garage skill worth having, and it needs little more than a spoke wrench and some patience. And don’t overlook the hubs — the bearings inside them keep your wheels spinning freely, and they need periodic freehub service to stay that way.
Tire pressure itself deserves more thought than “pump it up and go” — dialing it in for different terrain changes how your bike grips, rolls, and absorbs impact, and it’s worth learning properly rather than guessing.
Other Components Worth Watching
A few parts don’t fit neatly into the categories above but still need regular attention:
- Dropper posts need cleaning and occasional lubrication to keep that lever action smooth — there’s a proper maintenance routine for dropper seatposts worth following.
- Headsets — the bearing system connecting your fork to your frame — can develop creaks or play over time, and knowing how to diagnose and replace headset bearings saves a trip to the shop.
- Pedals spin thousands of times per ride and can get crunchy or loose without warning; a maintenance routine keeps them running quietly.
- And when your bike develops a mystery creak you can’t place, there’s a genuine process for tracking down and silencing those noises rather than just living with them.
Building Your Home Toolkit
You don’t need a full workshop to handle most of what’s covered here — a set of Allen keys, a chain tool, a decent pump, and chain lube will get you through the majority of jobs. From there, a torque wrench earns its keep fast, since correct fastener torque protects carbon components and keeps bolts from backing out on rough trails — worth understanding properly rather than guessing by feel. I keep a running list of the tools I actually reach for, and it’s a shorter list than most people expect.
Seasonal Storage
If winter means your bike goes into storage rather than out on the trail, a little prep before it sits protects it from corrosion and keeps it ready to ride the moment spring trails open back up. Cleaning, drying, and a few storage-specific steps matter more than people assume, per REI Co-op’s bike storage guidance.
The Bottom Line
None of this is about turning your garage into a shop or yourself into a full-time mechanic. It’s about knowing your bike well enough to catch the small stuff before it becomes the expensive stuff — and honestly, there’s a real satisfaction in fixing something yourself that no shop visit gives you. Start with the pre-ride checks and a regular cleaning habit. Everything else, you’ll pick up as you need it, one job at a time.