
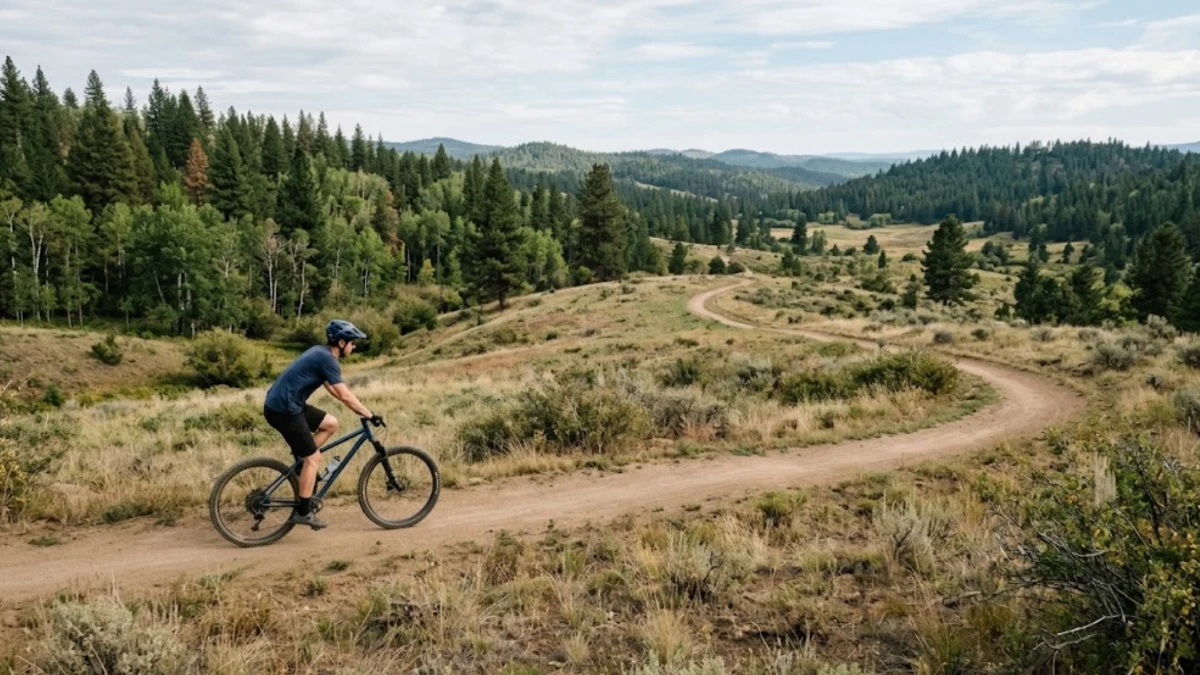
My first real trail wasn’t much more than a hard-packed fire road with a couple of gentle bends, and I still remember feeling nervous. That’s normal. Every rider I know, no matter how technical they get later, started on something forgiving.
This is a practical rundown of what actually makes a trail right for a beginner, how to read the difficulty ratings posted at the trailhead, and where to find these trails near you. For the bigger picture on where to ride once you’re past this stage, our main guide to mountain bike trails and destinations covers the full range, from local loops to full-blown MTB destinations.
What Actually Makes a Trail Beginner-Friendly
It’s not about being boring. A good beginner trail is just predictable. You’re not getting surprised by a blind rock garden or a chunky drop halfway through a climb.
Look for a wide, hard-packed or dirt surface without loose gravel piled up in the corners. Gradient matters more than most new riders expect — a trail doesn’t need to be flat, but it should climb and descend in short, gradual sections instead of one long grind or a steep, loose drop. Sightlines should be open enough that you can see what’s coming 15-20 feet ahead, which gives you time to pick a line instead of reacting at the last second.
None of that means the trail has to be flat and featureless. Some of the best beginner trails I’ve ridden still had a few small roots and a short rise or two — just nothing that punishes a mistake.
Reading Trail Difficulty Ratings Without Overthinking Them
Most trail systems in North America use some version of the IMBA scale: green circle for easiest, blue square for intermediate, black diamond and double black for advanced and expert. It’s borrowed straight from ski resort signage, and it works the same way — start at green, build from there.
Here’s the part beginners usually don’t hear: these ratings aren’t standardized the way a speed limit is. A green trail in one state can ride tougher than a blue trail somewhere else, because the rating reflects local terrain, not a fixed technical standard. Even IMBA’s own trail-building staff admit the ratings vary enough by region that the color alone shouldn’t be your only source of information — treat green and blue as a starting guideline, then pair it with trail reviews or a quick chat with the local shop before you commit.
Why Starting Easy Actually Makes You a Better Rider
I’ve watched a lot of people skip this stage and pay for it later. Riding easy trails first isn’t about avoiding challenge — it’s about building the base you’ll need for the challenge that comes next.
On a smooth, predictable trail, you actually get to feel what your bike is doing under you: how it brakes, how it tracks through a turn, where your weight needs to be on a climb. That’s harder to absorb when you’re also managing fear on a technical section. Skip straight to something too hard, and you spend the whole ride tense, which is exactly when bad habits — death-gripping the bars, staring at your front wheel, braking too late and too hard — get baked in early.
Take the easy trail seriously for a few rides. It pays off.
Gear and Bike Check Before You Roll Out
You don’t need a high-end rig to start. If you’re shopping for your first bike, a hardtail is usually the easier, cheaper way into the sport — front suspension only, simpler to maintain, and plenty capable on the terrain you’ll actually be riding as a beginner. Save the full-suspension upgrade for once you know what kind of riding you’re drawn to.
Whatever you’re on, don’t skip a proper pre-ride bike check — tire pressure, brakes, and a quick look at your chain take two minutes and save you a long walk out. Bring water, wear a helmet, and don’t overthink the rest.
Finding Trails Near You
Your local bike shop is still the best resource I know of. Tell them you’re new, and most shops will point you straight to the right loop — they ride these trails constantly and know which green-rated sections actually feel easy versus which ones are green “for the area.”
Beyond that, a few solid trail-finding apps will let you filter by difficulty and see elevation profiles before you commit. If you want more on matching a specific trail to your actual skill level rather than just the color on the sign, it’s worth reading up on how actually to pick the right trail for your level.
Local parks departments are worth checking too — a lot of rail-trail conversions and multi-use paths through city or county parks are wide, smooth, and perfect for your first few rides on dirt.
Respect the Trail While You’re Learning It
Every trail you ride, easy or not, belongs to a whole community of riders, hikers, and land managers who keep it maintained. Yield when the signage tells you to, stay on the marked line instead of cutting new ones around obstacles, and don’t ride trails that are closed for mud season — a torn-up trail takes seasons to recover. Worth reading through the full trail etiquette basics before your first few outings so it’s second nature by the time you’re riding with a group.
When You’re Ready to Level Up
You’ll know. The green trail starts feeling short, the small roots stop registering as obstacles, and you’re looking for the next thing without being talked into it. That’s the signal to start looking at intermediate singletrack trails — not before.
There’s no rush to get there. I still think the best trail days I’ve had were ones where I wasn’t trying to prove anything, just riding what was in front of me and paying attention. That’s really the whole point, whatever trail you’re on.
