
I once rode a 1,200-foot descent in the Wasatch with a lever that had gone soft on me halfway down — not gone, just mushy, the soft that makes you grab a fistful more than you should and hope. I made it down fine. But I bled those brakes the second I got back to the truck, and I’ve never let that happen again. Hydraulic disc brakes are mostly maintenance-free until they’re not, and knowing the difference matters more than any other skill in your toolbox.
This one’s part of our full breakdown of components, where we cover everything from frame materials to drivetrains — but brakes get their own deep dive because they’re the one system you genuinely can’t ride around a problem with.
What’s Actually Happening When You Squeeze the Lever
Hydraulic brakes move fluid, not cable. Pull the lever, and you push fluid through a sealed hose to the caliper, where it drives small pistons outward and clamps the pads onto the rotor. No stretch, no cable friction, and — this is the part that matters for troubleshooting — no give anywhere in the system unless something’s wrong. Fluid doesn’t compress. Air does. That single fact explains almost every hydraulic brake problem you’ll ever run into.
This is also why hydraulic brakes reward less hand strength and more finesse than the cable brakes a lot of us grew up on. If you’re still deciding between brake types entirely, it’s worth reading how to pick the right brake setup in the first place before you get deep into wrenching on what you’ve got.
The Spongy Lever
If your lever pulls soft, or worse, pulls close to the bar before the brake bites, you’ve got air in the system. REI’s brake guide confirms the same thing: a spongy hydraulic lever means air has worked its way into the fluid, and the fix is a proper bleed. I’ve had this happen after a hose got nicked on a rock strike, and once after just letting fluid sit too long without a flush — DOT fluid pulls in moisture over time, mineral oil less so, but neither is immune.
Bleeding isn’t hard once you’ve done it on your own bike a few times, but it’s brand-specific — Shimano, SRAM, and Magura all use different fluids and slightly different procedures, and mixing fluid types will wreck your seals. For your first bleed, I’d genuinely recommend watching it done at a shop or having them do it once so you can see the sequence before you try it solo.
Noise: Squeal Versus Grind
These sound similar from the saddle and mean completely different things.
Squeal is almost always contamination or glazing. Chain lube overspray, a fingerprint of chamois cream, even a bit of dust from a gravel road can get baked onto a rotor and turn it into a whistle. Contaminated pads bring on squeal, extra effort at the lever, and often a dark residue you can smear with a finger. Clean the rotor with isopropyl alcohol or a dedicated disc brake spray, never anything petroleum-based, and if the pads themselves are glazed or contaminated, they’re cheaper to replace than to fight.
Grinding is worse. That’s metal on metal — your pad material is gone, and you’re wearing into the backing plate or, if you’ve let it go long enough, the rotor itself. Stop riding it and check your pads immediately.
Rub: The Quiet Annoyance
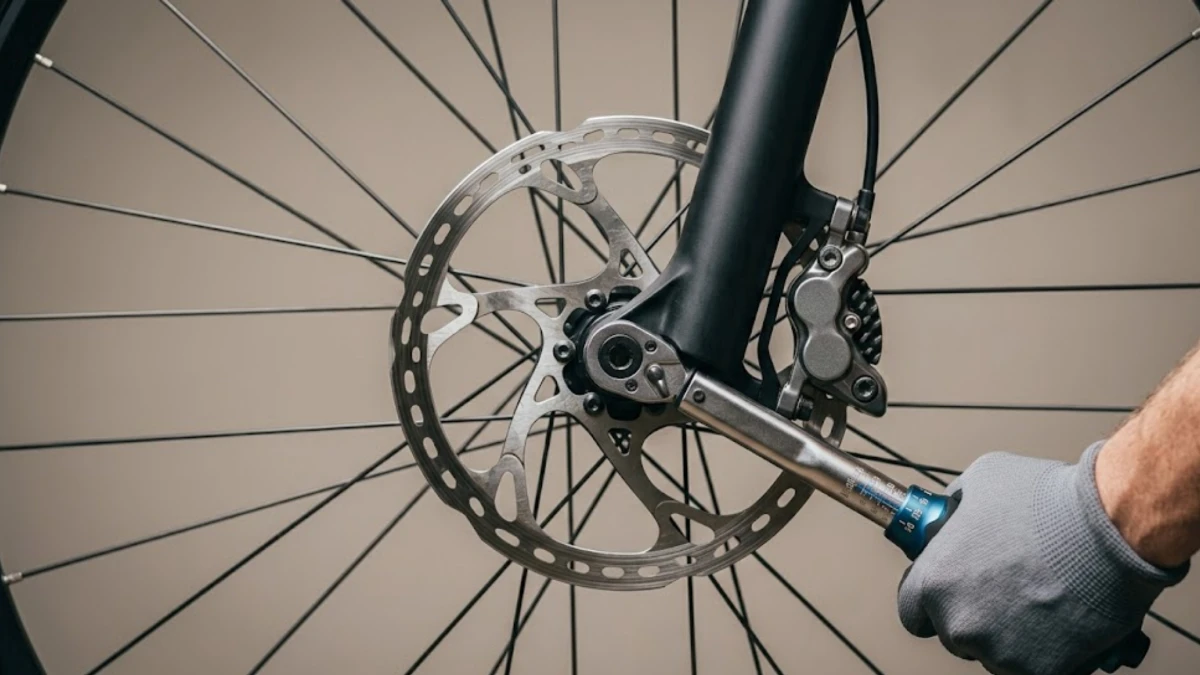
A faint scraping with every wheel rotation, even with the lever untouched, is almost always caliper alignment or a wheel that isn’t fully seated. Reseat the wheel first — it’s the fastest thing to rule out. If that doesn’t kill it, loosen the two caliper mounting bolts, squeeze the lever hard and hold it while you retighten them, then release. The caliper self-centers around the rotor under clamping force, and this fixes rub more often than anything else I’ve tried.
If it’s still rubbing after that, spin the wheel slowly and watch the rotor pass through the caliper. Visible wobble means a bent rotor, which can sometimes be trued with the right tool but is usually a job for someone who does it daily.
Checking Pad Wear
Pads wear the way brake pads on anything do — gradually, until they don’t. Park Tool’s spec calls for at least 1mm of pad material remaining, and I check mine by eye every few rides rather than waiting for a wear indicator to disappear. Some calipers let you slide pads out for a proper look; others you can only peer into from above. Either way, keep your hands clean when you’re in there — skin oil on a new pad is a squeal waiting to happen.
Inspecting Your Rotors
Rotors take a beating you don’t always notice. Deep grooves, discoloration from overheating on long descents, or a rotor that’s visibly thinner than a new one are all reasons to replace rather than keep riding. Rotor size and type matter more than people assume, too — a 160mm rotor on an XC bike and a 203mm rotor on an enduro rig aren’t interchangeable choices; they’re built for different heat loads and different riding.
Basic Maintenance That Actually Prevents Problems
Rinse mud and grit off after every ride. Keep degreaser and chain lube away from your rotors — overspray is one of the most common contamination sources I see, and the same logic applies to keeping your drivetrain running clean without fouling anything nearby. Flush your fluid every year or two depending on mileage and climate; humid conditions pull moisture into DOT fluid faster than dry ones. None of this takes more than twenty minutes, and it’s the difference between brakes that fade on you mid-descent and brakes you don’t have to think about.
When to Hand It to a Shop
I do most of my own brake work at this point, but there’s no ego in taking a bike in. A cracked caliper, a hose that’s been nicked, or a bleed that isn’t holding air out after a second attempt — those are shop visits, not weekend projects. Good brakes aren’t the place to learn through trial and error on a trail you can’t walk out of easily.