
I ran an air fork with the rebound cranked too fast for most of a season before a mechanic at my local shop finally asked why my hands were getting hammered on rock gardens. The fork wasn’t the problem. My settings were.
A suspension fork is one of the highest-impact components on a mountain bike, and one of the most misunderstood. This guide covers how forks actually work, the real difference between coil and air, and how to dial in sag, rebound, and compression so the fork works with you instead of against you.
What a Suspension Fork Actually Does
The fork connects your front wheel to the frame and handlebars, and its job is to absorb what the trail throws at it — rocks, roots, braking bumps, drops — so the wheel stays in contact with the ground instead of skipping over everything. That contact lets you steer and brake with confidence on rough terrain. A fork that’s working right doesn’t feel exciting; it just disappears underneath you.
Suspension on bikes isn’t a mountain-bike-only concept, either. It shows up on hybrids too, and the idea is older than most riders assume — spring-suspended bicycles were already being built in the 1880s, long before anyone called it “MTB tech,” as Wikipedia’s overview of bicycle suspension lays out. Worth knowing, if only because it’s a reminder that none of this is new — we’ve just gotten a lot better at it.
If you haven’t nailed down travel, wheel size, or frame material yet, our main guide to mountain bike components is the place to start before you get into fork specifics.
Coil vs. Air: The Two Spring Types
Every fork needs something to hold you up and push back when you hit a bump. There are two ways to do that.
Coil forks use a physical metal spring inside the leg. They’re simple, tough, and feel consistent through the whole stroke — a lot of riders who beat on their bikes in bike parks prefer that predictability. The trade-off is you need to swap the actual spring to change stiffness, and coil forks run heavier. Not a fast adjustment, but a reliable one.
Air forks use compressed air in a sealed chamber instead. You set stiffness with a shock pump, which means you can tune the fork to your weight and the trail in minutes instead of ordering a new spring. They’re lighter and more common on trail and XC bikes for that reason. The internals are more complex, but for day-to-day riding, that complexity is invisible — you pump and go.
Neither is objectively better. It comes down to how you ride and what you’re willing to trade for convenience. If you’re still working out whether a hardtail or full-suspension setup fits your riding, that decision has more to do with picking between a hardtail and a full-suspension build than fork spring type — the fork question comes after.
Fork Anatomy: The Parts Worth Knowing
You don’t need to memorize a parts diagram, but these terms come up constantly once you start tuning or troubleshooting:
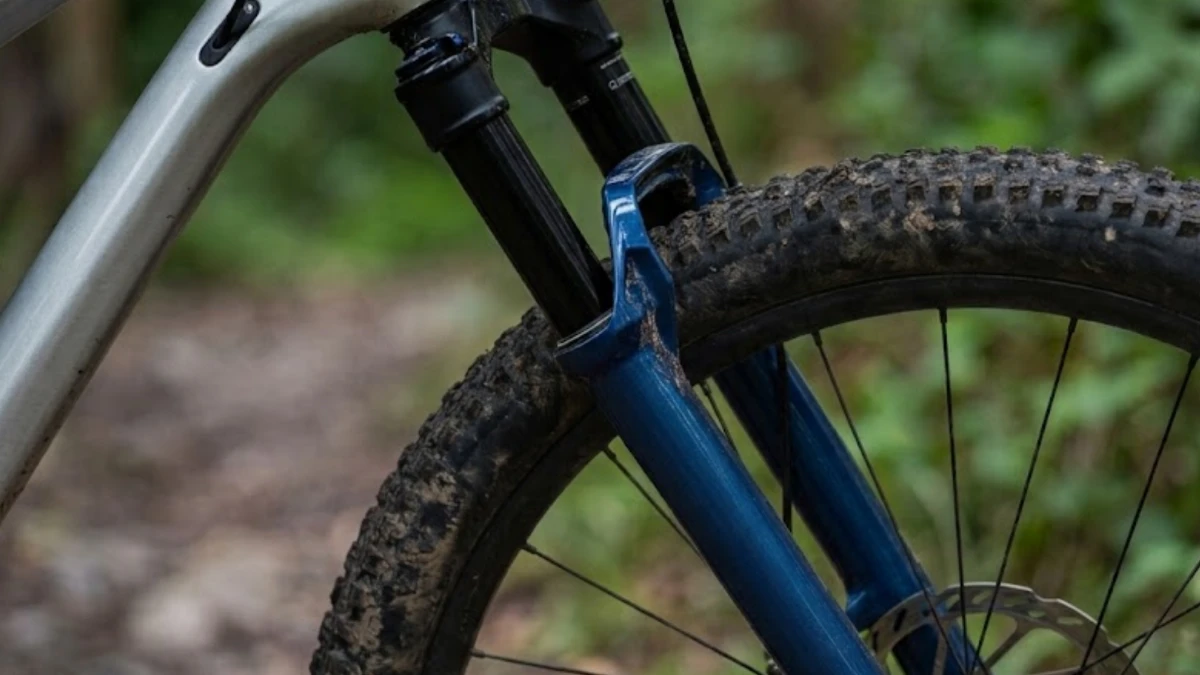
- Crown — the piece at the top connecting the fork to the steerer tube, which runs through your frame’s head tube.
- Stanchions — the smooth tubes that slide up and down. Keep them clean; grit here is the enemy of your seals.
- Lowers — the thicker tubes the stanchions slide into, usually branded with the manufacturer’s graphics.
- Arch — the bridge connecting the two lowers, adding stiffness.
- Dropouts — where your front axle mounts.
- Dials — rebound, compression, and lockout controls, usually on the crown or bottom of the legs.
How the steerer tube and head angle interact with travel is really a geometry question — how travel and head angle work together is covered in more depth in that piece.
Spring and Damper: How a Fork Actually Works
The spring — coil or air — compresses under impact and pushes back to return the fork to full extension. On its own, that’s all it does: store energy and release it.
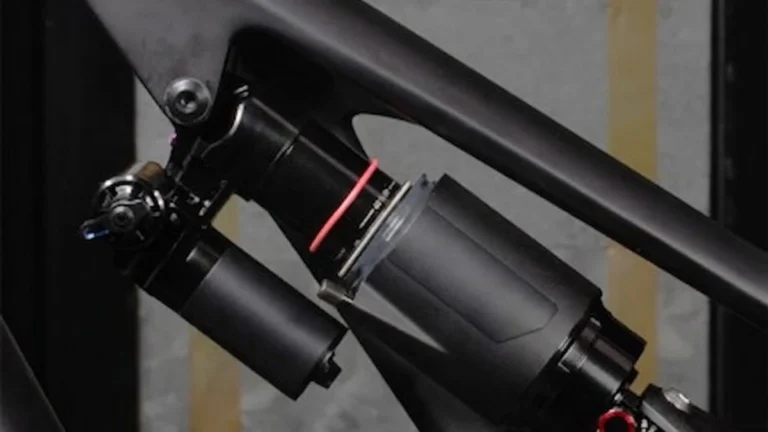
Left alone, a spring with nothing controlling it would buck around like an uncontrolled pogo stick. That’s the damper’s job. RockShox frames it well in its tuning documentation: the spring responds to position, while the damper responds to speed—controlling how fast the fork compresses and rebounds, not how far, as explained in RockShox’s suspension fine-tuning guide. That distinction matters when you’re troubleshooting, because a harsh-feeling fork could be a spring problem (wrong pressure) or a damper problem (wrong rebound/compression) — and the fix is different depending on which one it is.
The Adjustments You’ll Actually Use
Sag is how much the fork compresses from your body weight while riding, in gear, and standing on the bike. It’s the first thing to set, before anything else. Too little sag and the fork feels harsh over small bumps; too much and it wallows and blows through travel too easily. Most manufacturers put the sweet spot for XC and trail forks around 15–20% of total travel, moving up to roughly 20–25% for enduro and DH forks that need more mid-stroke support for bigger hits.
Rebound controls how fast the fork extends back out after compressing. Too fast and the fork kicks back at you, sometimes bouncing the wheel off the ground after a hit. Too slow and the fork “packs down” — it doesn’t fully recover before the next bump, so it feels progressively harsher through a rock garden. You’re looking for a return that’s quick enough to be ready for the next impact but controlled enough that it doesn’t throw your hands off the bar.
Compression governs how easily the fork compresses in the first place. More compression firms things up — useful for smooth climbs where you want less bob and better pedaling efficiency — but it costs you small-bump sensitivity. Less compression is plusher but can feel vague under hard pedaling or braking.
Lockout is the end of compression: near-full stiffness, meant for pavement or smooth fire-road climbs where you’d rather not waste energy compressing the fork with every pedal stroke. Just remember to open it back up before the trail gets technical — riding a locked-out fork into a rock garden is a good way to get bucked.
Setting Up Your Fork: Step by Step
You’ll need a shock pump — a high-pressure pump built for suspension, not a floor pump.
- Find your starting pressure. Most forks have a chart on the lower leg or a QR code linking to the manufacturer’s app, based on rider weight. Start there.
- Set sag. Slide the O-ring down to the seal, sit on the bike in full riding gear with hands light on the bars, let it settle, then step off carefully. Measure how far the O-ring moved and compare it to total travel. Add air to reduce sag, release air to increase it, adjust in small increments, and re-measure each time.
- Set rebound. Start with rebound fully open (fast), then push down hard on the bars and release. Turn toward “slow” a few clicks at a time until the fork returns quickly but doesn’t feel like it’s trying to throw your hands off the grips.
- Ride and adjust. The real test is a familiar trail, not a parking lot. Note whether it feels harsh, vague, or bouncy, and make one small change at a time — a few clicks of rebound or 5 PSI of pressure — so you know what actually fixed it.
If you’re running a full-suspension bike, don’t stop at the fork. Getting the rear shock talking to it properly matters as much for how the bike tracks through rough terrain, and it’s a process worth doing right.
When Things Get Grumpy: Basic Troubleshooting
- Losing air quickly: Check that the air cap is tight and the valve core isn’t loose before assuming the worst. Seals may need servicing.
- Squishy or reduced travel: Usually low air pressure, but can also signal a fork due for service.
- Clunks, squeaks, or grinding: Something’s loose, dry, or needs a deeper look.
- Oil on the stanchions beyond normal light residue usually means a seal is failing.
Anything past a basic air top-up is worth taking to a shop. Suspension internals aren’t the place to guess.
Keeping Your Fork Happy: Maintenance
A little upkeep goes a long way toward making a fork last.
Wipe the stanchions down with a clean rag after every ride — it takes thirty seconds and keeps grit from working past the seals. When you wash the bike, rinse the fork too, but keep high-pressure water away from the seals directly. The same logic applies to keeping your drivetrain clean; dirt is dirt, and it shortens the life of moving parts no matter which component it’s on.
Beyond wiping and rinsing, forks need regular service. A lower-leg service — fresh oil, lubricated foam rings and seals — is generally due every 50 hours of riding, tightening up if you’re riding in mud or dust regularly. A full damper rebuild is a bigger job, usually closer to every 200 hours or once a year, and that one’s better left to a shop or dedicated suspension service center unless you’ve already got experience wrenching on dampers.
Buying a New Fork: What Actually Matters
If you’re upgrading or speccing a new build, a few things determine whether a fork actually fits your bike and your riding:
- Travel — shorter travel (100–120mm) suits XC bikes built for climbing and smoother trails; longer travel (140–180mm+) suits trail, enduro, and DH bikes that take bigger hits. Match it to how you actually ride, not how you’d like to ride someday.
- Wheel size — the fork has to match your wheel size, and matching wheel size to your fork matters more than people expect when they’re upgrading piecemeal.
- Axle type — most modern forks use thru-axles for stiffness and security; make sure it matches your hub.
- Steerer tube — tapered steerer tubes are the modern standard for strength; check your frame is compatible before you buy.
- Budget — more money generally buys more adjustability, lighter weight, and smoother damping, but a mid-range fork set up correctly beats a top-tier fork set up badly.
Choosing the right fork matters as much as choosing the right brakes for that fork — the whole front end of the bike works as a system, not a collection of separate decisions.
It’s a System, Not a Mystery
A suspension fork isn’t complicated once you understand what the spring and damper are each doing. Get the sag right first, then rebound, then compression — in that order, always — and most of what feels “off” about a fork sorts itself out. The rest is just seat time and small adjustments.
If you’re building out the rest of your setup, the rear shock setup and tuning process follows the same logic front to back, and it ties into the bigger picture of how these systems work together.