
I ran a chain past its replacement window once, on a multi-day trip where I didn’t have a chain checker with me. By the time I got home, it had eaten enough life out of my cassette that I was replacing both. A five-dollar tool would have caught it in about ten seconds.
That’s really what drivetrain maintenance comes down to: a few minutes of attention that saves you real money and keeps your bike shifting the way it should. This is the maintenance side of the topic — for how the components themselves fit together, our main guide to mountain bike components covers the bigger picture.
What’s Actually in Your Drivetrain
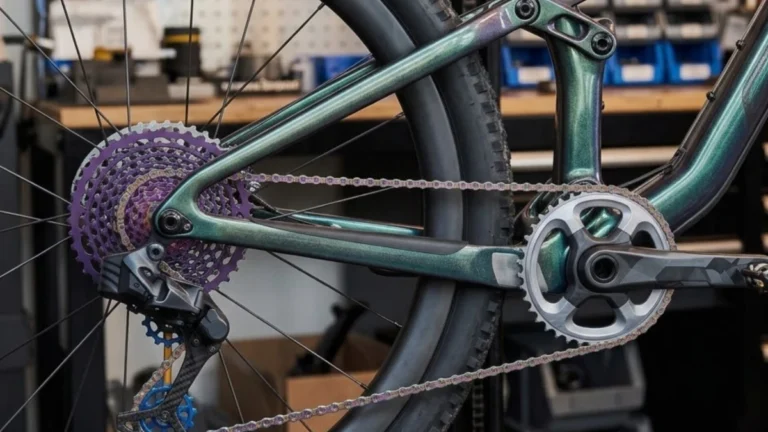
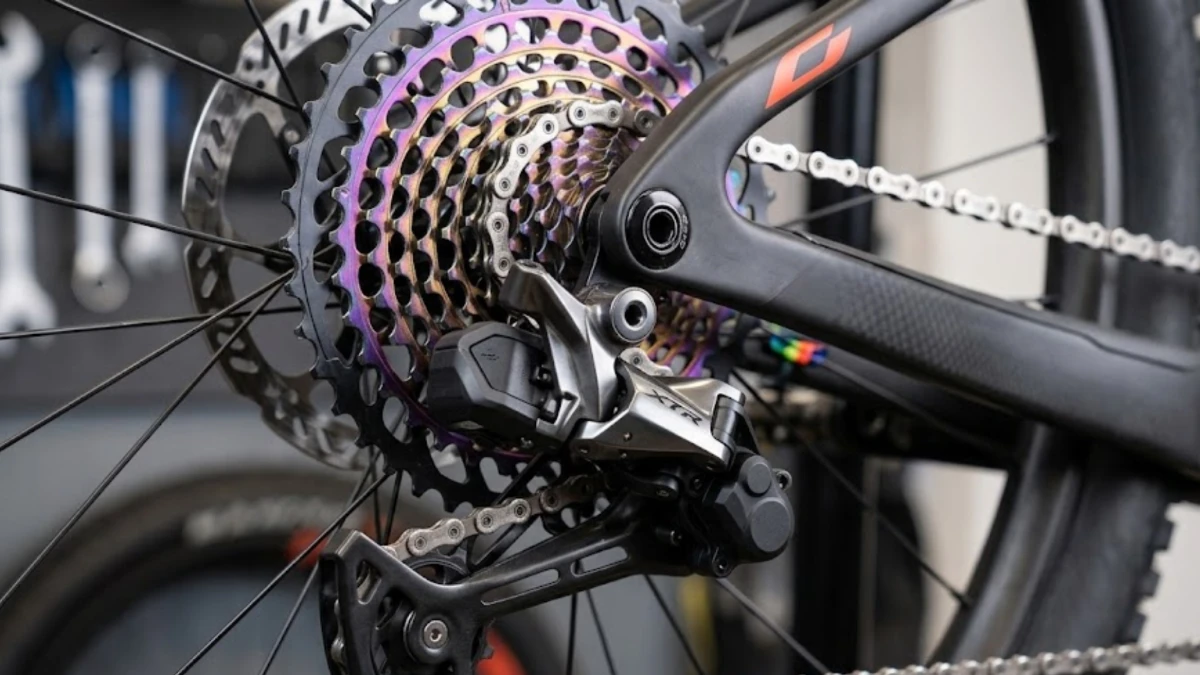
Your drivetrain is everything that takes the power from your legs and turns it into forward motion: crankset, chain, cassette, and derailleurs, working as one system. If you want the full breakdown of how those pieces interact, I’d point you to how the whole drivetrain works together — this piece assumes you’ve got the basics and focuses purely on keeping that system running clean.
What matters for maintenance is simpler: dirt is abrasive, metal-on-metal wear is cumulative, and a drivetrain left dirty or dry doesn’t fail gracefully. It just gets progressively worse until a shift skips at the wrong moment on a climb.
Why This Actually Matters
A clean, properly lubed chain shifts noticeably better — there’s a real difference between a chain that drops into the next cog cleanly and one that hunts and grinds first. But the bigger reason I stay on top of this isn’t shift quality; it’s cost. Grit acts like sandpaper between your chain rollers and your cassette teeth. Ignore it long enough, and you’re not replacing a $30 chain anymore; you’re replacing a chain and a cassette together.
There’s also a safety angle that’s easy to underrate. A chain that skips under load on a technical climb, right when you need full power delivery, isn’t just annoying — it can put you on the ground. I’d rather trust the bike completely and worry about the trail instead.
Cleaning Your Drivetrain the Right Way
What You’ll Need
A bucket of warm water with a bit of dish soap, a stiff brush (an old toothbrush works fine for tight spots), a bike-specific degreaser, some clean rags, and a way to rinse — a hose or a second bucket of clean water.
The Process
Get the bike stable, ideally in a stand where you can spin the cranks backward freely. If it’s caked in mud, knock the big chunks off with a quick rinse first. Spray degreaser onto the chain, cassette, and chainrings and give it a couple of minutes to break down the grease before you touch a brush to it.
Scrub the chain while turning the pedals backward, then work the brush into the cassette cogs and across the chainring teeth — that’s where grime likes to hide and where a lot of people skip. Rinse everything thoroughly; leftover degreaser isn’t doing you any favors once it’s not actively cutting grease, and you don’t want it sitting on bare metal. Dry the chain by holding a rag around it and spinning the cranks backward, or let it sit in the sun for a bit. Wet metal left alone starts rusting faster than most people expect.
Lubrication: Matching the Lube to the Terrain
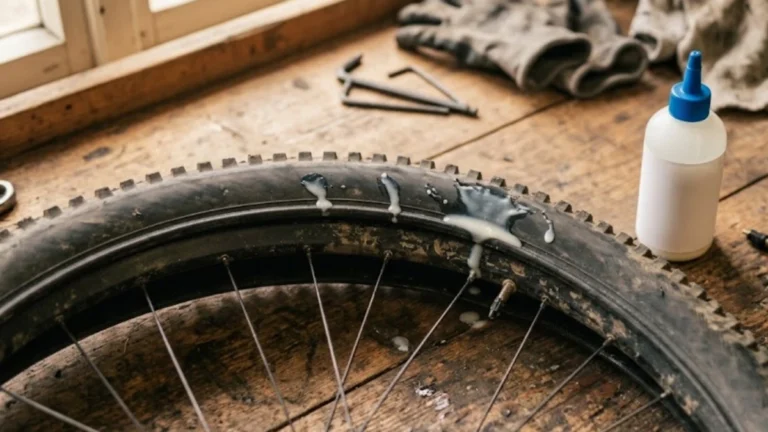
Once the chain’s clean and dry, apply one drop per roller, working it around the chain slowly while turning the cranks backward. Then shift through the gears a few times to work it into the links, and wipe the outside of the chain down hard with a clean rag. That last step matters more than people think — lube sitting on the outside of the chain does nothing but collect dust.
Which lube you reach for depends on where you ride. As REI’s chain maintenance guide puts it, a good chain lube has to do two things well: resist dirt buildup and hold up over miles, and bicycle-specific formulas beat generic oils because they’re built to repel both dirt and water, not just reduce friction. In practice, that means a wetter, stickier lube for mud and rain — it clings better but picks up more grit, so you’ll wipe it more often — and a drier, waxier lube for dusty, dry conditions, where it sheds dirt but needs reapplying more frequently. I run wet lube through our rainy season and switch to dry the rest of the year; running the wrong one means more cleaning, not a mechanical disaster.
Checking for Wear Before It Costs You
This is the step people skip, and it’s the one that actually saves money. Chains stretch — technically the rollers and pins wear internally, but the effect is the same: the chain gets functionally longer, and it stops meshing cleanly with your cogs and chainring teeth.
A chain wear indicator tool takes the guesswork out of this. According to Park Tool’s guide on chain wear, replacement thresholds depend on speed count — single-speed chains can run to about 1.0% wear, 10-speed and under should come off around 0.75%, and 11-speed and higher cassettes need replacement closer to 0.5%. That last number matters a lot if you’re running a modern 12-speed setup — the tighter cog spacing means less margin before a stretched chain starts chewing on things it shouldn’t.
For more on reading the specifics of your own setup, chain wear and replacement timing goes deeper into the numbers. And it’s worth knowing that once a chain has been left too long, cassette wear alongside a stretched chain means replacing just the chain won’t fix the shifting, because the cogs are now worn to match the old chain’s stretched pitch.
While you’re in there, glance at your chainring and cassette teeth. Worn teeth start looking hooked or pointed instead of square — that’s your sign a fresh chain alone won’t solve the problem anymore.
When to Hand It to a Mechanic
Most of this is genuinely DIY-friendly. But a few things are worth a shop visit rather than guesswork: shifting that’s still inconsistent after a clean and lube usually means cable tension or derailleur limit screws need adjusting. A crash can leave you with a bent derailleur hanger, which throws off shifting in a way no amount of cleaning will fix, and it’s easy to snap further if you force it. And if your chain, cassette, and chainrings are all worn together, replacing the full set correctly — matching speeds, checking chainline — is worth having a second set of hands on if you haven’t done it before.
A Few Habits That Keep It Running
Ease off the pedal pressure for a second when you shift, especially climbing — it’s the single biggest thing that reduces wear on both the chain and the derailleur. Avoid parking in the extreme gear combinations, big-to-big or small-to-small; it strains the chain at an angle it’s not built for and won’t get you meaningfully more range anyway. And listen to the bike. A squeak usually means it’s dry. A grind usually means it’s dirty. Neither takes more than a few minutes to fix once you know what you’re looking at.
Keeping a drivetrain clean isn’t glamorous work, but it’s the difference between a bike that shifts the way it’s supposed to for years and one that’s constantly costing you money in parts you didn’t need to replace. A few minutes after a muddy ride buys you a lot of trouble-free miles.