
I’ve had a chain snap on me twice—once on a fire road, which is just annoying, and once mid-climb on a technical loop, which meant a much longer walk back to the truck. Both times it came down to the same root cause: I let wear go too far before I checked it.
The chain is the one part of your bike doing constant work under load, dirt, and moisture, yet it’s usually the last thing riders think about. Get the type right, keep it clean, and replace it before it’s too far gone, and you’ll save real money on cassettes and chainrings down the line. This guide covers all three.
Matching Chain Width to Your Drivetrain
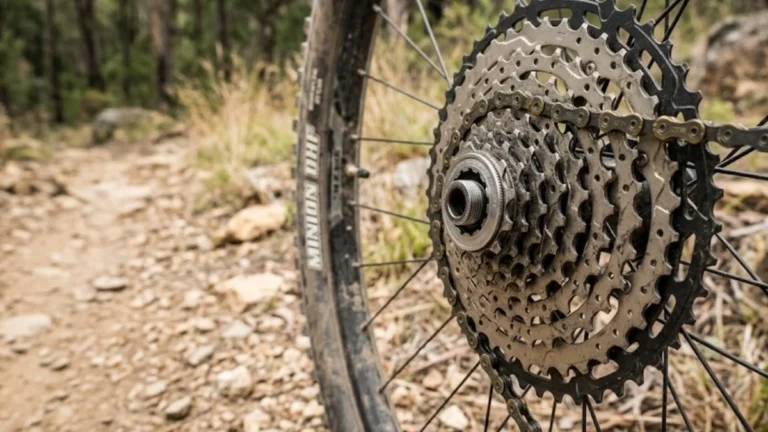
A chain isn’t a universal part — it has to match your cassette’s speed count, full stop. More cogs packed onto the same-width cassette means thinner gaps between them, and the chain has to get narrower to shift cleanly through that stack without rubbing.
Here’s roughly where things land:
- 7, 8, or 9-speed: Wider chains, common on older or entry-level hardtails. They’re not fancy, but they’re tough and forgiving.
- 10-speed: A step narrower. Still common on mid-range builds.
- 11-speed: Thinner again, with a wider gear range and generally crisper shifting.
- 12-speed: What most current mid-to-high-end mountain bikes run, including SRAM Eagle and Shimano 12-speed drivetrains. These are the thinnest chains on the market, which means manufacturers lean on stronger alloys and coatings to keep them from snapping under load.
Count the cogs on your cassette before you buy — don’t assume. A 12-speed chain won’t index properly on a 9-speed cassette, and running the wrong width is a fast way to chew through a derailleur. If you’re not sure how your cassette and chain actually work together, it’s worth reading up on matching your cassette’s speed count before you shop — and if drivetrains in general still feel like a black box, our guide on how the whole drivetrain works together covers the basics first.
Cleaning and Lubricating Your Chain
This is the single highest-leverage maintenance task on the bike. A gritty chain doesn’t just shift badly — it acts like sandpaper on your cassette and chainrings every single pedal stroke.
How often: After nearly every muddy ride. Every few rides if you’re strictly riding dry, dusty trails. I run a quick brush-and-lube after any ride where the trail was wet enough to leave spray on my down tube.
The cleaning process:
- Dry-brush first. A stiff brush (an old toothbrush works fine) knocks off loose mud and dust before you introduce any liquid.
- Degrease. Apply a bike-specific degreaser while backpedaling, working it into the rollers. You’ll see black gunk lift off — that’s the point.
- Rinse gently—a hose on a soft setting, never a pressure washer aimed at the drivetrain. Blasting water into your hub or bottom bracket bearings washes out the grease that’s supposed to be in there.
- Dry it completely. Run a clean rag through the chain while backpedaling until it’s dry to the touch. Leftover moisture invites rust, and rust accelerates wear fast.
Wet lube vs. dry lube: Wet lube is thicker and holds up in mud and rain, but it collects more grit, so you’ll be wiping it down more often. Dry lube is thinner, often wax-based, and stays cleaner in dusty conditions — but it washes off quickly if you get caught in weather. REI’s chain-care guide breaks down both properties well if you want the full comparison before picking a bottle.
Apply one drop of lube per roller, let it sit for five to ten minutes so it works into the pins and bushings, then wipe the outside of the chain completely clean. That last step matters more than people think — lube sitting on the outside plates attracts dirt that gets ground straight into the chain.
Checking for Chain Wear
Chains don’t snap without warning most of the time — they stretch first. That’s not the metal actually elongating; it’s the microscopic gaps between pins and bushings widening as they wear, which lengthens the chain’s effective pitch. Once that happens, the chain stops meshing cleanly with your cogs and starts wearing them down too.
I check mine with a drop-in gauge every few hundred miles, and it takes about ten seconds. Park Tool’s wear guidance lays out the thresholds clearly: 5-to-10-speed chains are generally fine to run until 0.75% wear, while 11—and 12—speed chains— which have less material to spare—should come off closer to 0.5% wear to protect your cassette. Waiting until 0.75% or beyond on a 12-speed setup usually means your cassette is already compromised too.
Once you’re replacing the chain, it’s worth checking the rest of the drivetrain at the same time — see the rest of your drivetrain maintenance routine for cassette and derailleur checks that pair naturally with a chain swap.
Replacing a $25–$40 chain on schedule is a lot cheaper than replacing a chain, cassette, and chainrings all at once because you let it ride too long. That math alone is worth the ten seconds.
Replacing a Worn Chain
The good news: modern quick links (also called master links) have made this one of the more approachable jobs in home maintenance, no cable stretching or derailleur limit screws involved.
- Break the old chain. If it has a quick link, quick-link pliers pop it apart in seconds. No quick link, or installing a fresh chain that isn’t pre-linked? A chain breaker tool pushes a pin out to separate it.
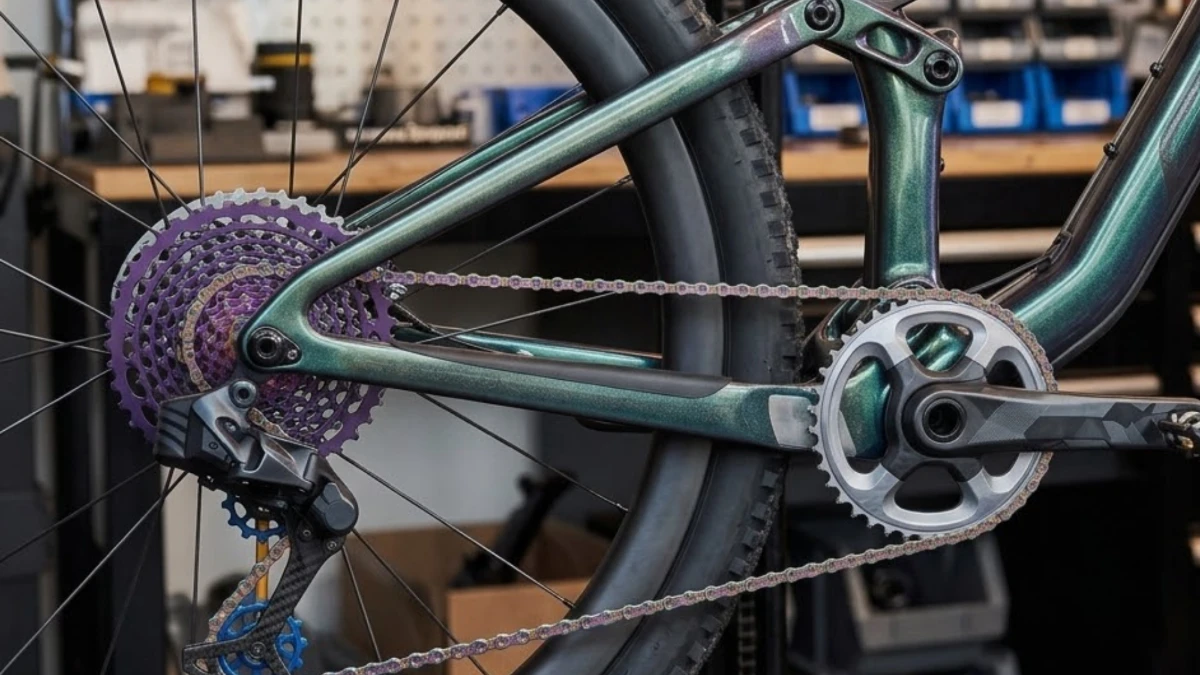
- Route the new chain. Thread it through the rear derailleur — over the top pulley, under the bottom pulley — and around the chainring, following the old chain’s path if it’s still hanging nearby for reference.
- Size it correctly. New chains come too long. Lay it alongside your old chain to match length, or run it onto the largest chainring and largest cog (without threading it through the derailleur) and add two links past that point. Trim the excess with your chain breaker.
- Connect the quick link. Bring both ends together, seat the link, then lift the rear wheel, backpedal until the link sits at the top of the chain, and press down on the pedal with the brake held. You’ll feel — and usually hear — it click home.
- Test it. Run through every gear a couple of times before you head out. A fresh chain paired with a worn cassette can still skip under load, so if shifting still feels off after a new chain, the cassette’s probably next.
If your cassette and chainrings still have life left in them, a properly installed new chain should bring back quiet, precise shifting almost immediately — that difference is usually the first thing I notice on the next ride. Worth knowing: chainring wear follows the same pattern as chain wear, so it’s worth a glance while you’ve got the bike apart.
Your chain does more work than almost anything else on the bike, and it asks for very little in return — a wipe-down, some lube, and a wear check every few rides. Stay on top of that routine, and you’ll get a lot more mileage out of the expensive stuff behind it. For the full picture of how your drivetrain, brakes, and cockpit fit together, start with our Mountain Bike Components Guide.