
I ran tubes for my first two seasons of real trail riding, right up until a rock garden on a local descent handed me two pinch flats on the same lap. That afternoon is why every bike in my garage now runs tubeless. But tubes haven’t disappeared for good reason — this is where the two systems actually differ, and how to figure out which one belongs on your bike, straight from our main guide to mountain bike components.
How a Tubed Tire Actually Holds Air
A tubed setup is the one most of us learned on. An inner tube — a sealed rubber ring with a valve — sits inside the tire carcass and holds all the air pressure. The outer tire’s only job is to protect that tube and grip the dirt. It’s a system that hasn’t changed much in decades, and there’s a reason it’s stuck around: it’s dead simple to understand, cheap to stock, and almost any shop on the planet can fix it in five minutes.
That simplicity comes at a real cost on rough terrain, though. Any sharp object that gets through the tire casing goes straight into the tube, and that’s a flat. Worse is the pinch flat — hit a square-edged rock or root hard enough and the tube gets squeezed between the object and the rim, tearing two small holes riders call “snake bites.” I’ve had this happen on trails I’d ridden a dozen times before, just from misjudging one line into a rock garden.
How Tubeless Tires Get Rid of the Tube Problem
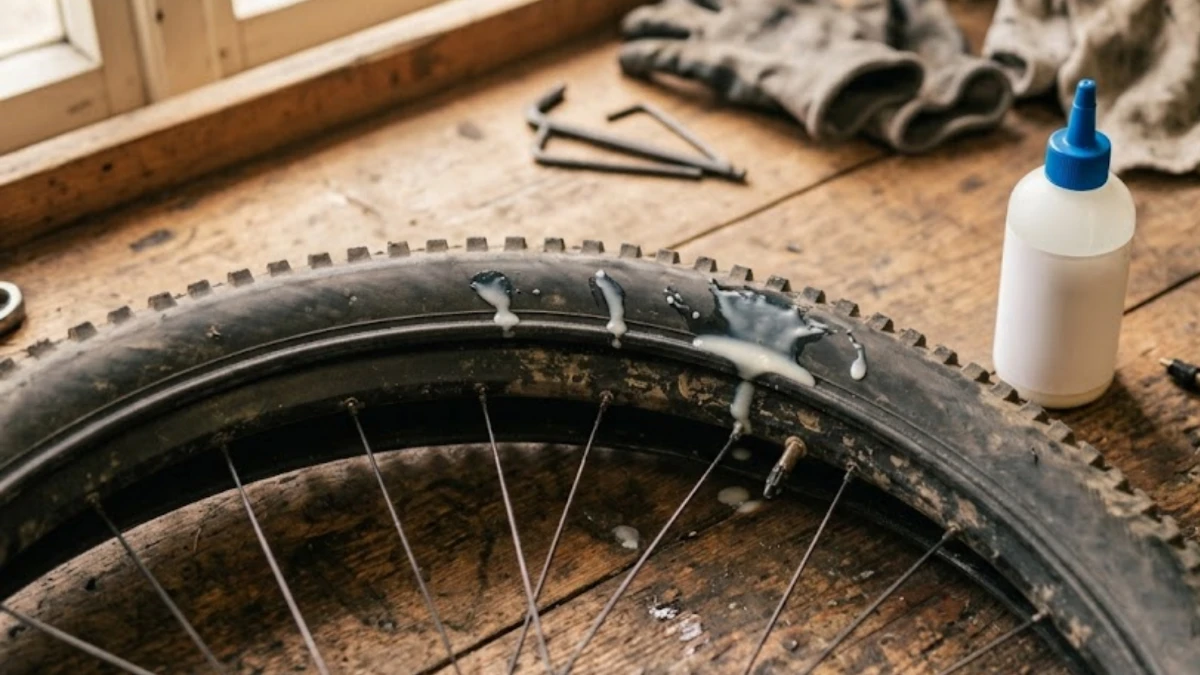
Tubeless drops the tube entirely. The tire bead seals directly against a tubeless-ready rim, and liquid sealant poured inside does the work the tube used to do—except it also actively fixes small punctures as they happen. Air pressure pushes the sealant into a fresh hole from a thorn or bit of glass; it clogs, and most of the time you never even notice the puncture occurred mid-ride.
Because there’s no tube to pinch, you can run noticeably lower pressure without the snake-bite risk. Lower pressure means more tire in contact with the ground, better traction through loose corners, and a ride that absorbs chatter instead of bouncing off it. Riders who switch over consistently report fewer flats and a smoother-feeling bike, and that’s why tubeless has become the default spec on most trail and enduro bikes sold today.
Where Tubed Tires Still Earn Their Keep
I won’t say tubes are obsolete; that’s not accurate, and it overstates the case for tubeless. If you’re commuting on smooth fire roads, riding a kid’s bike, or want a setup you can fix roadside with a five-dollar spare and zero mess, tubes still make sense. They’re also the safety net every tubeless rider should carry, since a gash too big for sealant to seal still needs a tube or a plug to get you home.
Budget matters too. Tubeless-ready rims, tires, valves, and sealant cost more upfront than a basic tube setup. If you’re getting into the sport on a tight budget, there’s nothing wrong with riding tubes for a season while you figure out picking the right tread and width for your terrain before investing further.
The Real Trade-offs of Going Tubeless
Tubeless isn’t maintenance-free, and I think a lot of write-ups gloss over this. Sealant dries out and needs refreshing — most sealant stays effective for roughly two to six months depending on climate and riding conditions, with a quarterly check being a solid habit for most riders. Skip that check long enough and you’ll find out the hard way, usually with a slow leak on a ride you didn’t plan to interrupt.
Initial setup can also be genuinely fiddly the first time — getting a tire to “pop” onto the bead often takes an air compressor or a dedicated tubeless pump, and a sloppy install means sealant weeping everywhere. I’d rather a new rider pay a shop for the first conversion and learn by watching than fight it alone in the driveway and swear off tubeless for good.
Making the Switch: What Conversion Actually Takes
If you’re moving an existing bike over, here’s what actually goes into it:
- Tubeless-ready rims and tires (check your current rim’s compatibility before buying anything)
- Tubeless rim tape, sized correctly for your rim’s internal width
- Tubeless valves to replace your old tube’s valve stems
- Sealant, injected through the valve once the tire’s seated
- A way to seat the bead — usually an air compressor or a tubeless-specific floor pump
If your rims aren’t tubeless-compatible, that’s a bigger investment and a good moment to think about matching your rims to the tire you want to run rather than just bolting new tires onto old wheels.
Which Setup Actually Fits You
If you’re riding actual singletrack — roots, rock gardens, loose corners — tubeless earns its keep fast, and the drop in flats alone tends to pay for the setup within a season. If you’re riding smooth paths, on a tight budget, or you want the simplest possible repair process, tubes are still a completely legitimate choice, and there’s no shame in running them.
Either way, the tire is only half the equation. Once you’re dialing in low pressure for grip, it’s worth understanding how hub engagement plays into that same low-speed grip — the two systems work together more than most riders realize. I switched because I got tired of fixing the same pinch flat on the same climb. Your reason might be different, but the trade-offs above should make the call easier either way.