
I’ve walked more than one bike back to the trailhead, and it was never the frame or the derailleur that quit on me — it was a two-dollar tab of aluminum I’d never once thought about before it failed.
That’s the derailleur hanger. Once you understand what it does and why it gives out, you stop dreading it and start carrying a spare. This piece covers what it is, why it breaks, and how to handle it when it does — part of our Mountain Bike Components Guide.
What a Derailleur Hanger Actually Does
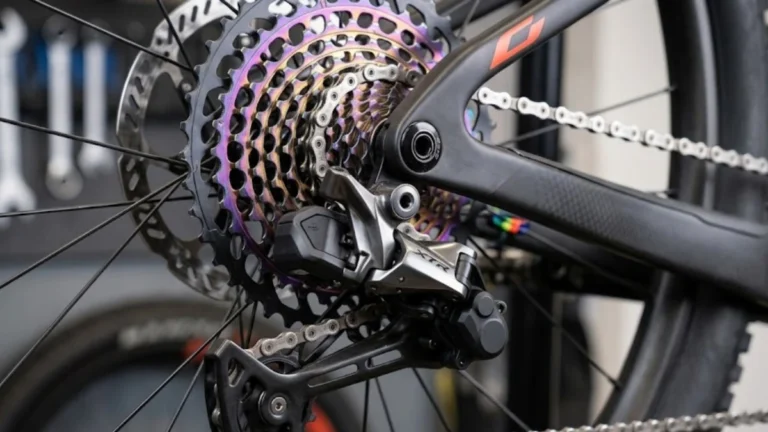
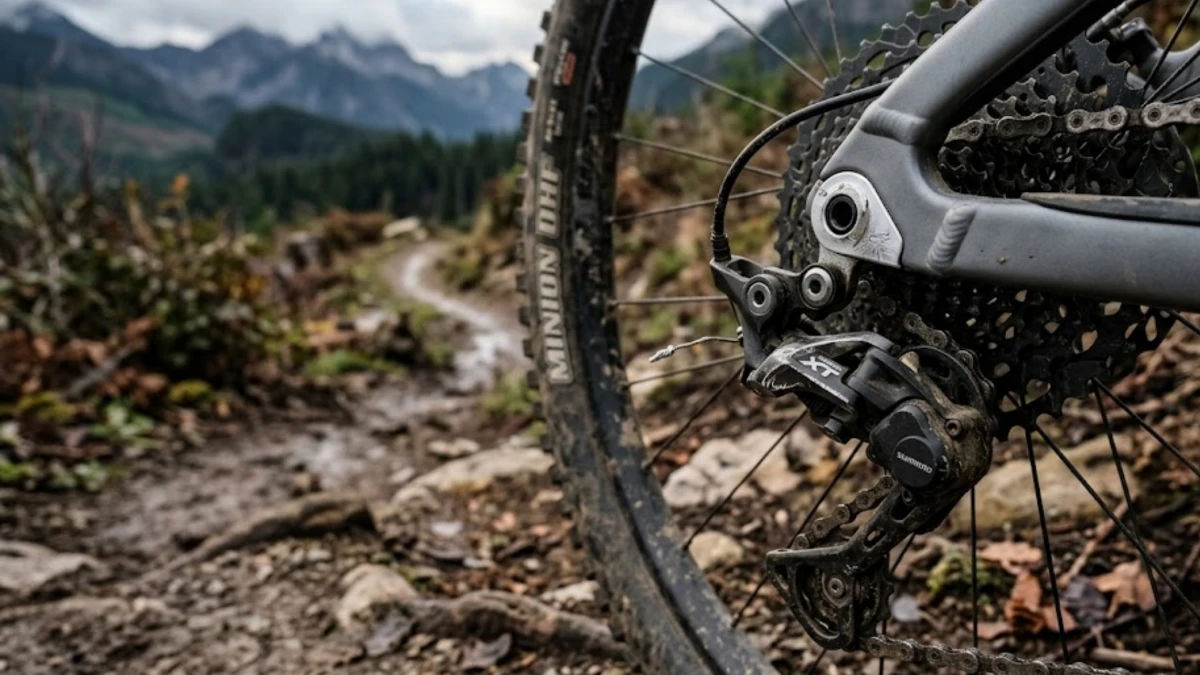
Your rear derailleur doesn’t bolt straight to the frame. It bolts to a small, removable piece called the hanger, which attaches to the frame’s dropout. On most aluminum and carbon mountain bikes, that hanger is a separate part — usually aluminum, sometimes a bit of steel — held on by one or two bolts.
It’s built to be the weakest point in the system, on purpose. If the derailleur takes a hit, the hanger is supposed to bend or snap before your frame or your derailleur does. A new hanger runs you somewhere between $15 and $40 depending on your bike. A new derailleur or a cracked dropout costs a lot more than that, and takes your bike off the trail a lot longer.
Steel-framed bikes are the exception — a lot of them have the hanger built directly into the dropout, since steel is malleable enough to bend back into shape without the same failure risk. But if you’re riding aluminum or carbon, which covers most modern mountain bikes, assume yours is a separate, replaceable part.
Why Derailleur Hangers Break
Direct impact. This is the big one. A rock clips your derailleur on a rocky descent, a stick jumps into your chain, you lay the bike down awkwardly on a switchback — any of these can bend or snap the hanger. It’s positioned low and exposed by design, which is exactly why it’s the sacrificial piece rather than the frame.
Forced or sloppy shifting. Shifting under a hard pedal stroke, especially on a climb, puts extra load through the whole system. So does riding cross-chained — big ring to big cog, or small to small — for long stretches. Neither is catastrophic on its own, but repeated over a season, it adds stress the hanger wasn’t built to absorb constantly.
A chain that’s not doing its job. A stiff link or a worn, stretched chain doesn’t move cleanly through the derailleur. That resistance pulls the derailleur, and the hanger, in directions they’re not meant to go. If your chain’s overdue, that’s worth sorting before it takes something else out with it — I go into replacement intervals in our piece on mountain bike chain maintenance.
Installation and transport mistakes. Bumping the derailleur while swapping a wheel, cramming the bike into a car trunk at an angle, overtightening the mounting bolt — all of these can weaken or bend a hanger without a single mile of riding involved.
Plain fatigue. Less common, but real. Metal that’s absorbed thousands of small vibrations and shifts over a few seasons can eventually give out under a load that wouldn’t have bothered it when it was new.
Whatever the cause, the result is the same: your derailleur is no longer sitting where it’s supposed to relative to the cassette, which means shifts start skipping, chattering, or refusing outright — sometimes badly enough to throw the chain into your spokes.
The Universal Derailleur Hanger (UDH): What’s Changing
If you’ve bought a bike recently, there’s a decent chance it uses SRAM’s Universal Derailleur Hanger, a standardized thru-axle hanger design SRAM introduced in 2019. Instead of every brand and frame year running its own proprietary shape, UDH is an open standard that manufacturers can license from SRAM at no cost, and it’s now showing up across brands including Trek, Specialized, Canyon, and others. It’s also designed to rotate backward on a hard impact, adding another layer of protection for the frame beyond the old bend-and-break approach.
That’s a real improvement for anyone who’s ever hunted for a discontinued hanger for an older frame. It doesn’t mean every bike out there has one, though — plenty of hardtails and older full-suspension frames still run brand- and model-specific hangers, so don’t assume yours is universal without checking.
What to Do When Your Hanger Bends or Breaks on the Trail
You’ll usually know immediately — a grinding noise, the chain skipping or jumping, or the derailleur hanging at an angle it shouldn’t be at.
Stop riding on it. Don’t try to pedal through it or force a shift. You’ll turn a cheap fix into an expensive one, and a bent hanger that catches your spokes can lock the rear wheel without warning.
Check the damage before you decide anything. Look at the derailleur cage, the chain, and the spokes — a hard enough hit can take out more than just the hanger.
If it’s only slightly bent, you can sometimes hand-straighten it enough to limp home. Do it gently — aluminum work-hardens fast and will snap if you push it too far, and this is a get-you-home fix, not a permanent one.
If it’s snapped, your best option on the trail is often converting to a single speed. Pull the derailleur, shorten the chain with a chain-breaker tool to run around one chainring and a middle cog, and ride it out. If you’re not familiar with your chain and hub setup, it’s worth understanding how your hub and gearing interact before you’re troubleshooting it on the side of a trail.
If neither works, walk it out. It’s not the ride you planned, but it beats grinding your derailleur or frame into scrap on the way back.
Replacing and Getting It Aligned
Here’s the part that catches people off guard: hangers aren’t universal (UDH aside). There’s very little interchangeability between brands and even between models from the same brand, so you need your bike’s make, model, and year to order the right one. Sites like derailleurhanger.com or Wheels Manufacturing are the easiest way to look yours up.
Installing a new one isn’t complicated — match it exactly to the old one, don’t overtighten the mounting bolts, and reattach the derailleur carefully. But don’t skip the last step: check alignment before you ride it hard. A hanger that’s slightly off will shift poorly even if it looks fine to the eye, and a bike shop can true it up on an alignment gauge in a few minutes if you don’t want to eyeball it yourself.
Keeping It From Becoming a Trailside Problem
A few habits go a long way here:
- Glance at it before every ride. It should hang straight down and parallel to the wheel. If it looks off, get it checked before your next ride, not after your next mechanical.
- Shift clean. Ease off pedal pressure for a beat when you shift, and avoid parking in extreme cross-chain gears for long stretches. Pair this with a look at how your shifter is set up if shifts already feel hesitant.
- Keep cables and housing clean. Sticky cables cause sloppy shifts, and sloppy shifts load the hanger in ways it’s not built for.
- Be careful with transport. When you’re loading the bike in a car or on a rack, make sure the derailleur isn’t pressed against anything. Pulling the rear wheel for a tight trunk fit is a five-minute habit that saves a hanger.
- Carry a spare. This is the one that actually matters most. A spare hanger weighs nothing, costs almost nothing, and turns a ride-ending failure into a five-minute trailside swap — assuming you’re also carrying the right Allen key.
Wrapping Up
The derailleur hanger is one of the smallest, cheapest parts on your bike, and it’s doing more work than it gets credit for. It’s supposed to break — that’s the whole design. Know why it fails, carry a spare, and it’ll do its job quietly instead of ending your ride early.