
I ran the wrong grip diameter on a hardtail for most of a season before I figured out why my pinky finger kept going numb on long descents. It wasn’t the trail. It was a pair of grips too thin for my hands, forcing a death grip I didn’t know I was holding.
Grips are the cheapest, most overlooked upgrade on a mountain bike, and they change more about how a ride feels than almost anything else you can bolt on.
Why Grip Choice Actually Matters
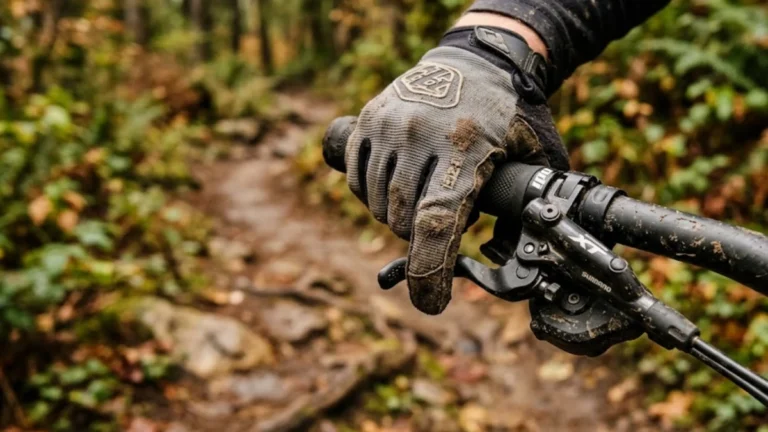
Your hands do more work than most riders give them credit for. They’re steering, braking, absorbing every rock and root that comes up through the fork, and doing it all while gripping tight enough to trust the bike on a steep pitch. Get the wrong grip, and that work shows up as numbness in the ring and pinky fingers, forearms that pump up and burn out halfway down a descent, or palms that ache for hours after you’re off the bike. On loose or wet trails, the wrong texture or compound means your hands slide on the bar exactly when they shouldn’t — a control problem, not just a comfort one.
None of that is dramatic on its own. But stack it up over a full day of riding, and it’s the difference between finishing strong and finishing gripping the bar as it owes you money.
Rubber, Foam, and Silicone: What Grips Are Made Of
Most grips are still some flavor of rubber, but the compound matters more than the word “rubber” suggests. Softer compounds feel plush and soak up trail buzz — they also tend to be tackier, which helps in the wet — but they wear faster, especially if you’re not running gloves. Firmer rubber lasts longer and gives a more direct feel for the trail, which some riders genuinely prefer once they’re used to it; you lose some of that cushioning in exchange.
Foam and silicone grips are a different animal. They’re lighter, usually thicker, and excellent at damping vibration, which is worth paying attention to if frame material changes what you feel through the bars already has you thinking about ride harshness—grips do the same job at the other end of the bike. The tradeoff is a softer, less precise feel under the hand, and foam in particular can tear more easily in a crash than dense rubber.
I’ve run both. Foam grips on a long-travel enduro bike make sense to me — big impacts, long days, comfort matters more than ultimate precision. On a hardtail where I want to feel exactly what the front tire is doing, I go firmer.
Grip Diameter: Matching Grips to Your Hands
This is the spec that trips people up most, and it’s the one that got me. Diameter has to match your hand size and how you actually hold the bar, not just what looked good in a product photo.
Smaller hands generally do better on thinner grips—your fingers wrap the bar fully, giving you a more secure, precise hold, at the cost of some cushioning. Larger hands, or riders who want more shock absorption, tend to prefer thicker grips that fill the palm and spread pressure over more surface area. This connects directly to how you’ve dialed in your bar width and rise — a grip that’s too thick on top of a bar that’s already wide for your reach compounds the problem instead of fixing it.
There’s no substitute for actually holding a few options. If your local shop has demo grips or floor bikes, spend the two minutes wrapping your hand around different diameters before you buy. It’s also worth thinking about diameter alongside how stem length and angle change your reach to the bar — if your hands are already stretched or cramped before you even factor in the grip, no amount of foam or rubber is going to fix that fully.
Texture and Ergonomic Shaping
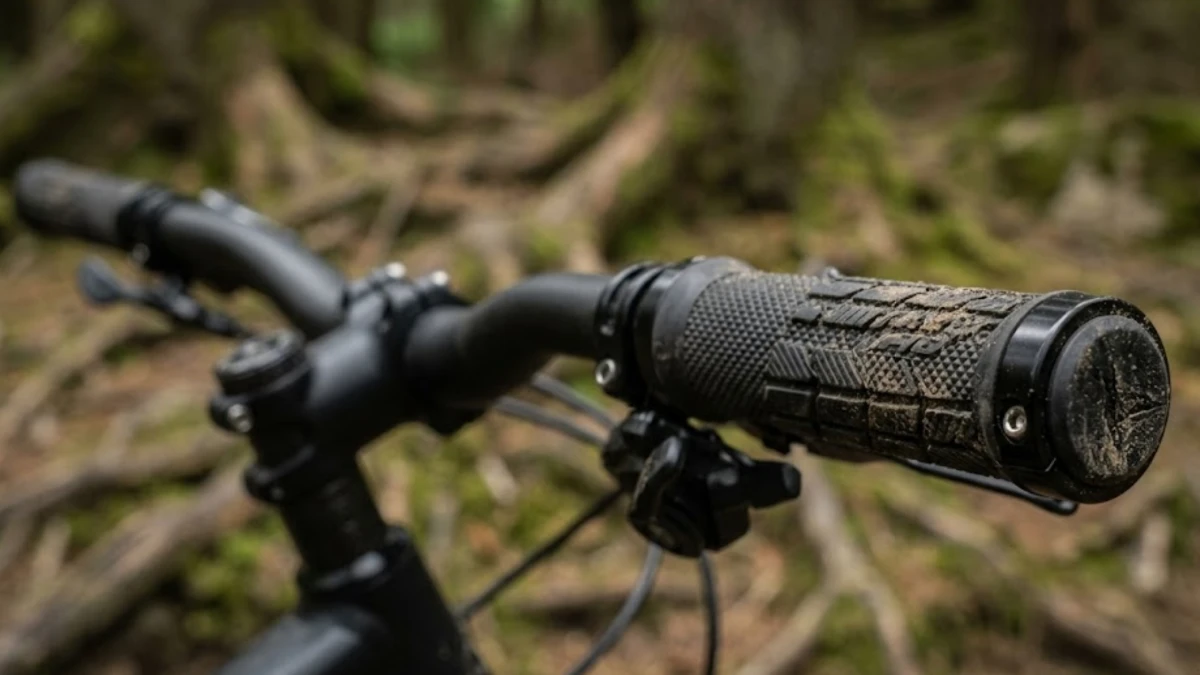
Beyond compound and thickness, the surface pattern is doing real work. Waffle and diamond patterns give a broad, all-around hold. Knurled or aggressive textures bite harder in mud, which matters more than people expect the first time they’re descending in the wet with slick gloves.
Ergonomic grips — the ones with a molded wing or flared section under the palm — are worth a look if you’re dealing with numbness on the outside edge of your hand. That symptom usually points to pressure on the ulnar nerve as it passes through Guyon’s canal at the wrist, and it’s common enough among cyclists that it has its own name — cyclists’ palsy, or handlebar palsy — rather than something unique to bad luck or a one-off ride. If that’s a recurring issue for you, a wider contact patch and a slightly thicker grip are worth trying before you assume it’s just part of riding long days.
Lock-On vs. Slide-On
Lock-on grips clamp to the bar with one or two collars and a small screw. Introduced by them in 1999, they’ve since become the default across most of the sport, and for good reason — they don’t twist, they install and remove in minutes, and they stay put no matter how wet or grimy things get. The tradeoff is a small weight penalty and slightly less rubber right at the very end of the bar where the clamp sits.
Slide-on grips are just a tube of rubber or foam pushed onto the bar, usually with some soapy water to get them seated. They’re lighter and give a marginally more direct feel since there’s no hard collar in the way, but they can twist under load, and they’re genuinely annoying to remove when it’s time to swap them. For most riders, especially anyone newer to the sport or riding technical terrain where a twisting grip is a real hazard, I’d default to lock-on. Save slide-on for a dedicated XC setup where every gram counts, and you already know your hand position isn’t changing mid-ride.
How to Choose Your Grips
Start with your hands. Note your hand size, whether you get numbness or arm pump on long rides, and whether you ride with gloves. Softer, thicker, or ergonomic grips address most existing discomfort; bare-handed riders usually want more texture to compensate for the lost grip that gloves would otherwise provide.
Match them to how and where you ride. Fire roads and mellow singletrack reward comfort-first choices—softer compounds, more cushioning. Technical trails and anything approaching bike-park terrain call for a firmer, tackier, lock-on setup where security under load matters more than plushness. If you’re riding wet or muddy conditions regularly, prioritize an aggressive texture over anything else on this list.
Test before you commit, if you can. A shop visit beats guessing from a product photo every time. Grips are inexpensive enough that trying two or three pairs over a season isn’t a real cost — it’s a lot cheaper than debating the hardtail-versus-full-suspension decision for your whole bike, and it’s the upgrade most likely to change how your hands feel by the end of a ride.
Installation and Care
Lock-on installation is straightforward: loosen the clamp screws, slide the grip into position, and snug the screws down — no need to overtighten. Slide-on grips need a bit of soapy water or isopropyl alcohol to seat properly, and they’ll need a few minutes to dry in place before you trust them.
Keep grips clean with a quick wipe after muddy rides, since grime is what kills traction fastest. Once you see smooth, glazed patches or actual tearing, replace them — worn grips lose their compound’s tack long before they look obviously bad, and that’s exactly when hands start sliding on a wet root you’d normally clear without thinking about it.
Grips are one of the smallest components on the bike and one of the few upgrades where cost has almost no relationship to how much difference it makes. If you’re building out the rest of your setup, our main guide to mountain bike components covers where grips fit alongside everything else your hands, and the rest of the bike, depend on.